Add custom code
Custom code in Stainless lets you make changes to generated SDKs that persist across codegen runs, via direct edits or custom commits to your repo.
You can edit code in your Stainless SDK repositories just like you would any other repository, and your edits will persist on top of successive runs of codegen.
This can be useful for customizing your SDK beyond what the Stainless config enables, allowing you to treat Stainless code generation as a platform for building arbitrarily rich libraries on top of your API.
Common uses for custom code include:
- adding helper methods that don’t just hit an API endpoint
- adding custom data types
- customizing the README to better reflect your brand or include specific details about your API
Custom code should not be used for things that could be accomplished with edits to the OpenAPI spec or Stainless config; see anti-patterns for what to avoid.
To add custom code to your SDK, open a PR as you normally would and merge to the next or main branch using the conventional commit format (e.g. docs(readme): add brand logo).
The next time Stainless runs codegen, your changes will be re-applied on top of the generated code with a semantic three-way merge, preserving your changes (including git history).
If a generated change conflicts with a custom code change (for example, you hand-edited a docstring and then made a similar edit in the OpenAPI spec), Stainless opens a PR with the merge conflict highlighted. Resolve it as you normally would to clarify your intent.
The rest of this guide gives a tutorial for getting started with custom code, and an explanation of the core concepts of how custom code works.
Getting started
Section titled “Getting started”Editing the README
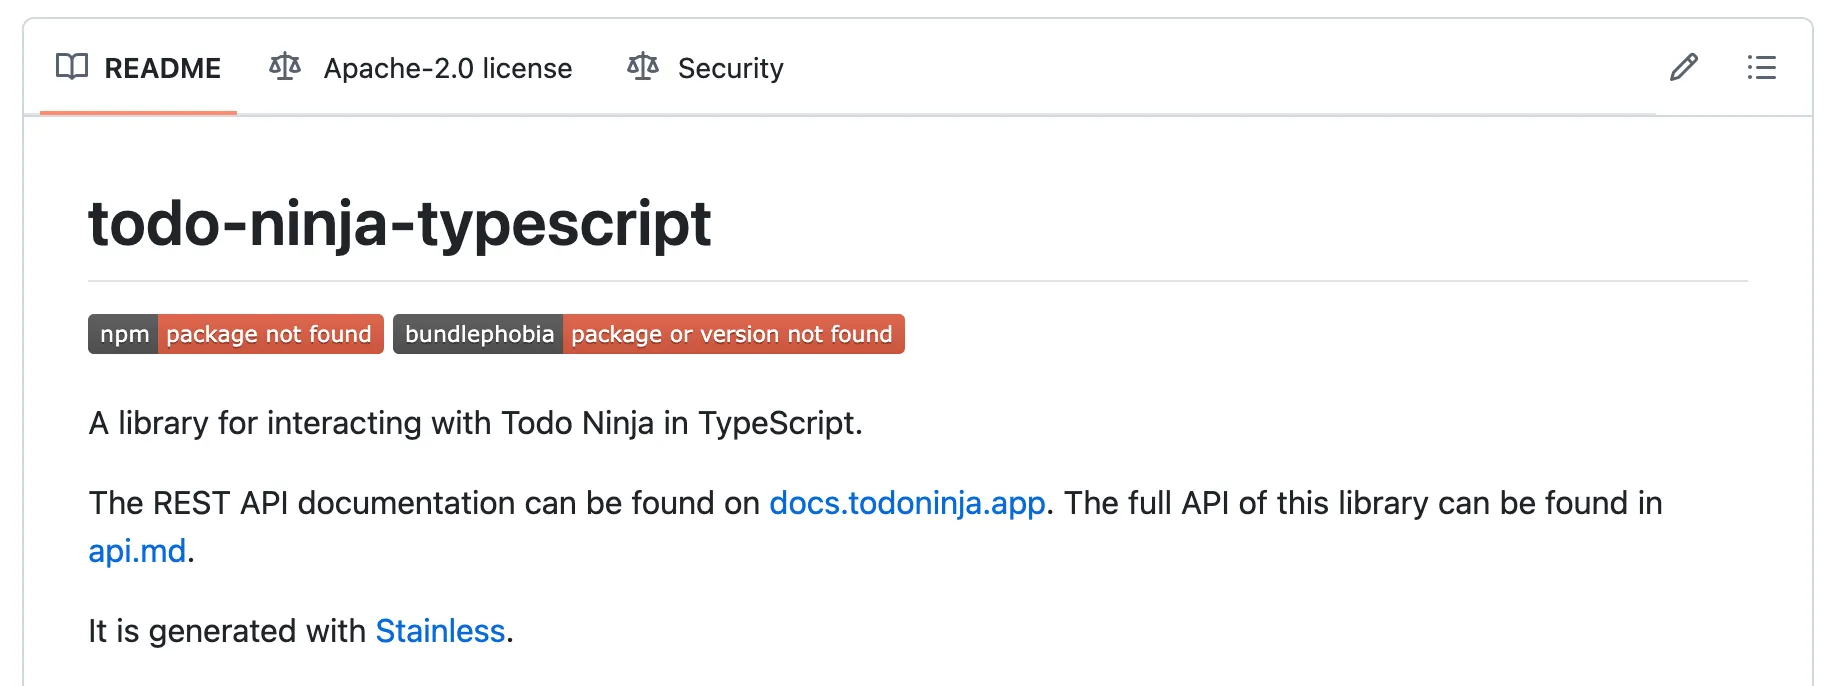
Section titled “Editing the README” Integrated Branch |+-------------------------------+ || 1. By you: Custom code commit | ||-------------------------------| | +------------------------------+| feat(client): custom change |---+ | 2. By codegen: API Update |+-------------------------------+ | |------------------------------| +-----| feat(client): new endpoint | | +------------------------------+ | V ~~ Release! ~~As an example, suppose you have a project named todo-ninja with a TypeScript SDK. You want to edit its README to change the title to todo-ninja-typescript and change the opening sentence (like this).
First, check the documentation to see if the Stainless config has an option to make the edit you want. While the Stainless config has a readme_title option, which can customize the README title, it doesn’t quite fit our needs, and there’s also no option for customizing the README’s opening sentence. In this case, you can use custom code to get the desired changes.
-
On your local machine, clone the staging repo by running:
Terminal window git clone git@github.com:stainless-sdks/todo-ninja-typescript.gitcd todo-ninja-typescript -
Open
README.mdin your editor, and make the changes you want:# Todo Ninja TypeScript API Library# todo-ninja-typescript[](<https://npmjs.org/package/Todo-Ninja>) This library provides convenient access to the Todo Ninja REST API from server-side TypeScript or JavaScript.A library for interacting with Todo Ninja in TypeScript. -
Add, commit, and push your changes, using a conventional commit message:
Terminal window git add README.mdgit commit -m "docs: align README.md with company style"git push
The README in your staging repo will now reflect the changes you’ve made. If you have a production repo linked to your SDK, your change will be copied to a release PR.
You’ve now made your first custom code addition to your SDK. Future updates Stainless makes to your SDK will now include the edits you made to your README.
Resolving a merge conflict
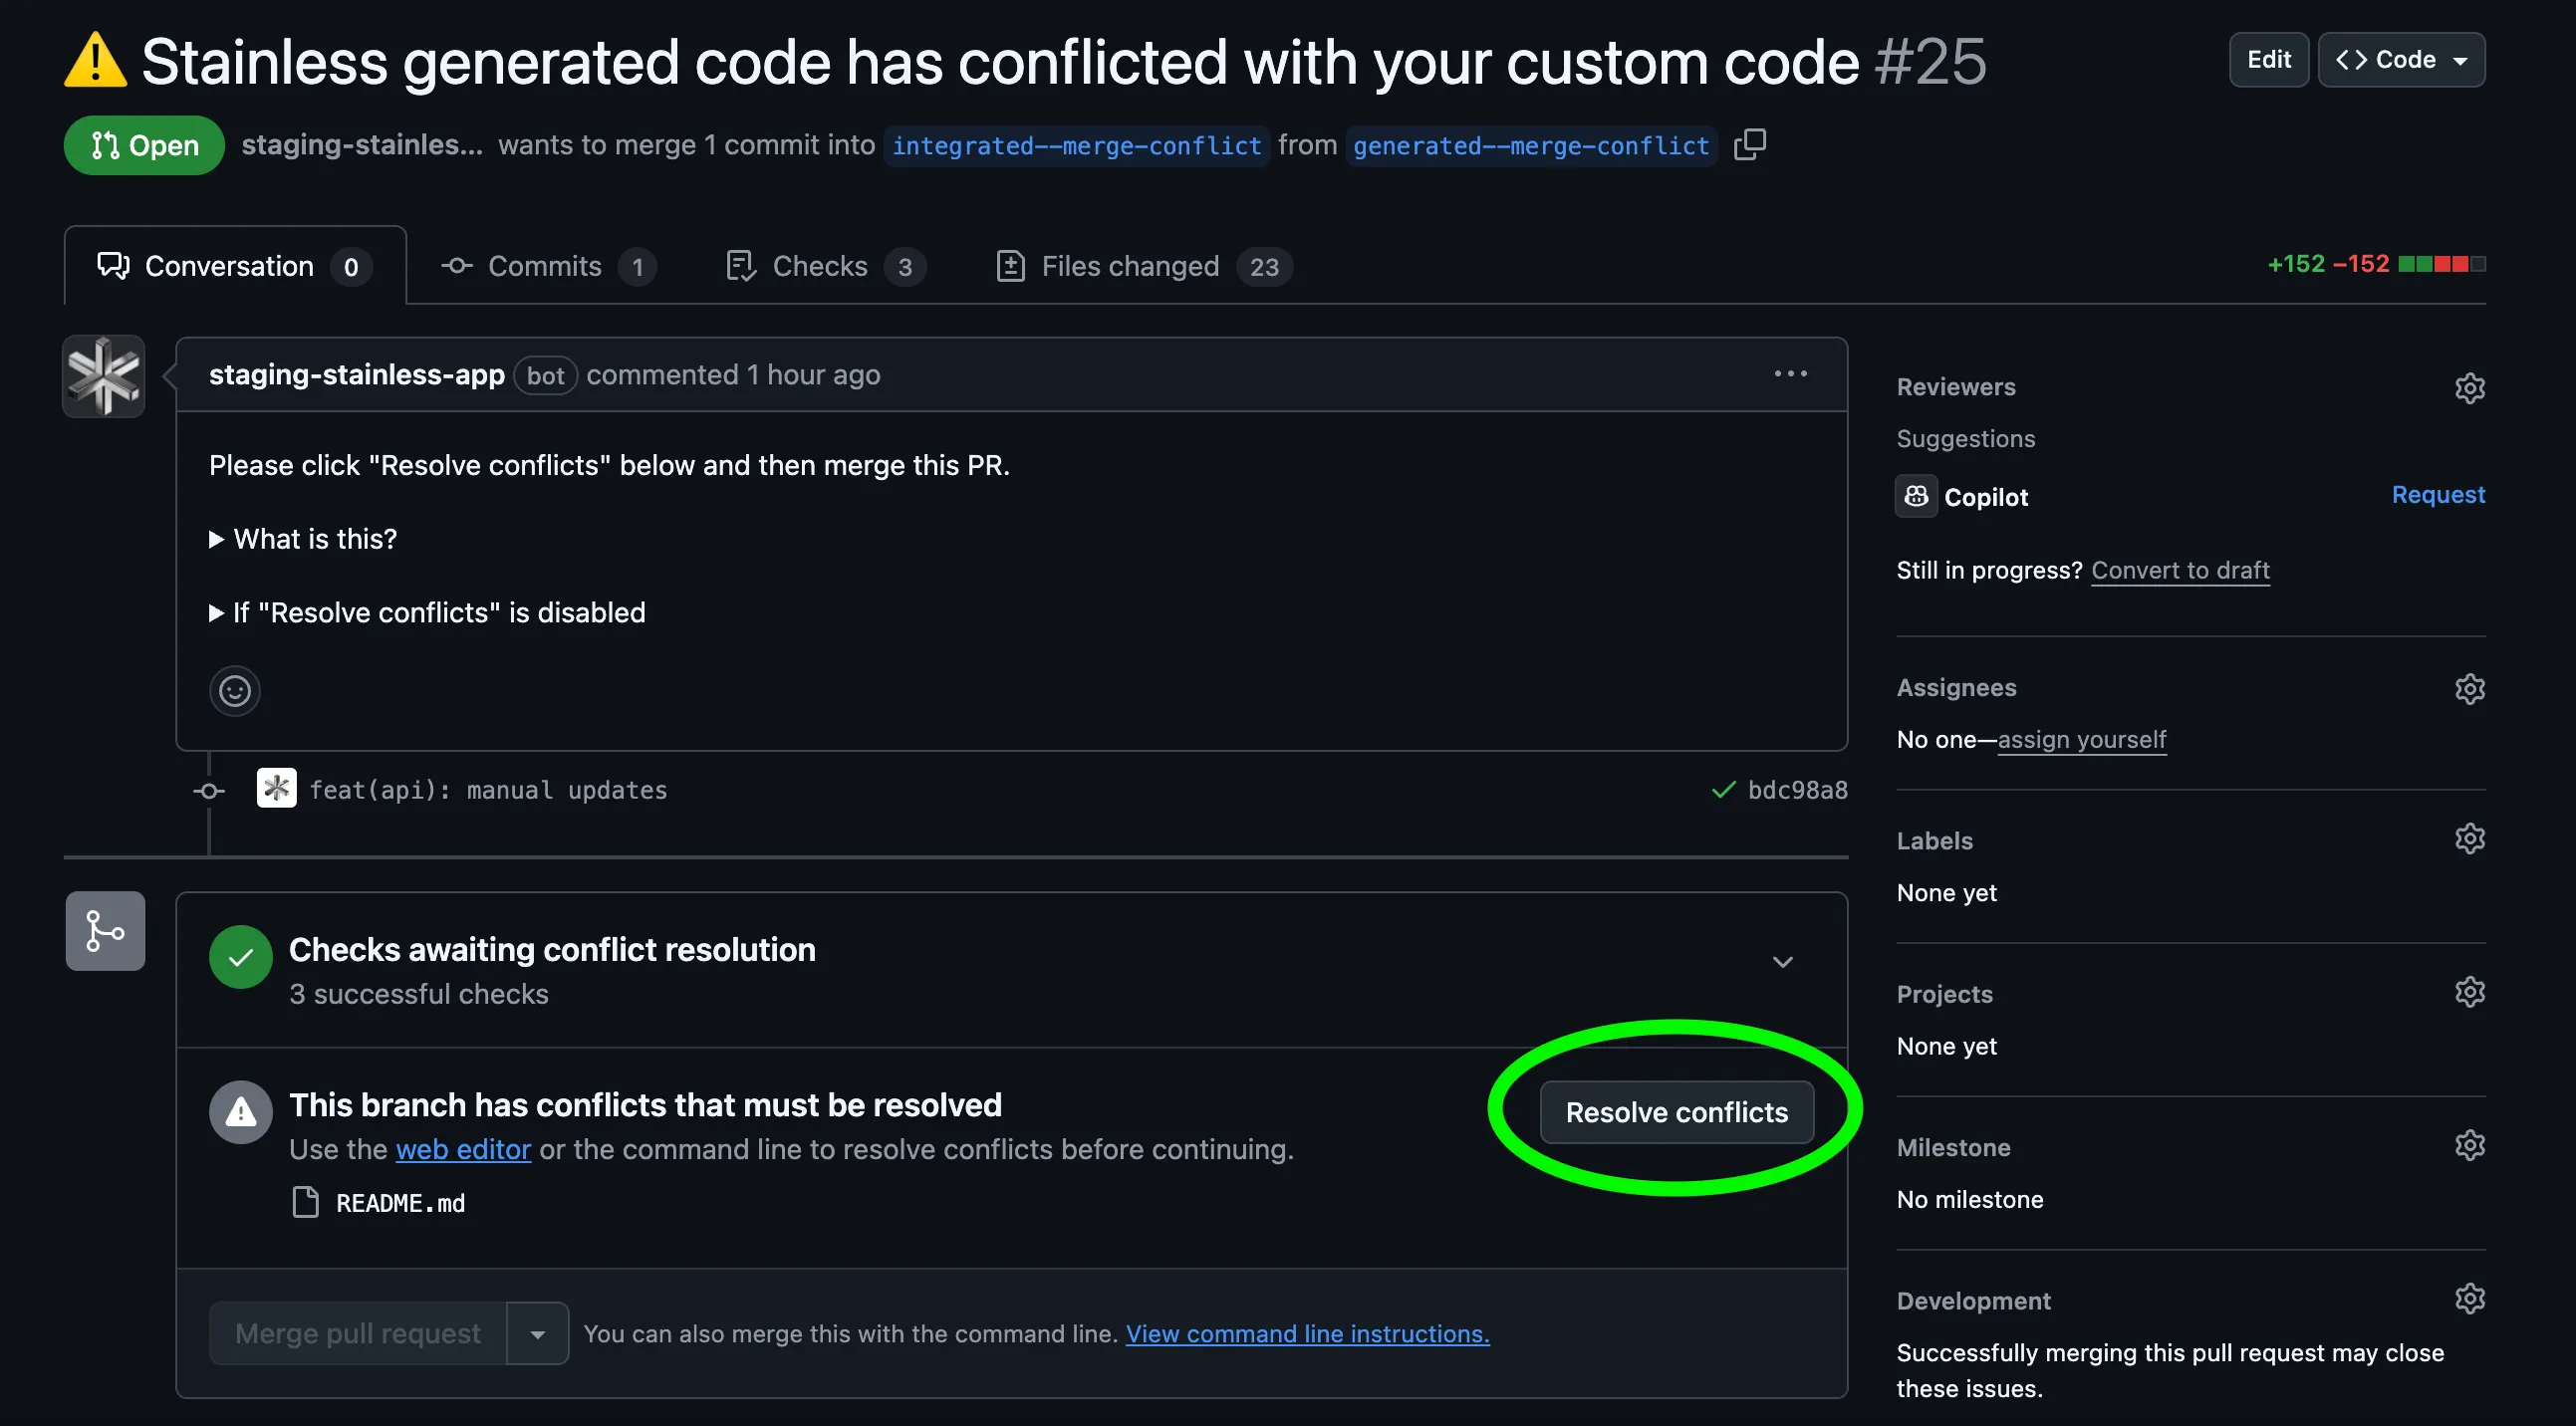
Section titled “Resolving a merge conflict” Integrated Branch |+-------------------------------+ || 1. By you: Custom code commit | ||-------------------------------| | +-------------------------------+| docs(readme): change title |---+ | 2. By codegen: API Update |+-------------------------------+ | |-------------------------------| #----| docs(client): change org name | # +-------------------------------+ ### ################## | Merge conflict | ################## ###+-------------------------------+ #| 3. By you: Merge conflict fix |---++-------------------------------+ | | V ~~ Release! ~~Sometimes, the code that Stainless generates can conflict with the custom code that you’ve added. When this happens, we open a merge conflict PR in your SDK’s staging repo to allow you to tell us which version of the code to preserve going forward. We recommend watching your SDKs’ staging repos so that you will be notified. The merge conflict PR has instructions for resolving it.
Let’s continue from the previous example, and look at a merge conflict with the README.
Suppose you make the following edit in your Stainless config:
organization: name: Todo-Ninja name: TodoNinjaAfter saving your changes, we open a pull request notifying you that there is a merge conflict. Let’s walk through the steps of resolving the merge conflict.
- Open the merge conflict PR in your staging repo, which should look something like this:
-
Click “Resolve conflicts” and indicate your resolutions in GitHub’s UI.
-
Merge the PR.
Stainless then applies the resolution to the integrated branch.
Occasionally, you may need or prefer to resolve the conflicts locally in a cloned repo. In this case, follow the detailed instructions in the PR body.
How custom code works
Section titled “How custom code works”Integrated branches
Section titled “Integrated branches”-
Your SDK has an integrated branch, which includes both Stainless-generated code and any additional commits that you would like to add.
-
Before you link a production repo to your SDK, the integrated branch is the
mainbranch; afterwards, it’s thenextbranch (which is mirrored in your staging and production repos). -
Any time Stainless generates a change to your SDK, either due to changes to your API or due to an improvement to our codegen algorithm, we add a commit to the integrated branch.
-
You can also add your own “custom code” changes to the integrated branch by adding conventional commits, either by pushing directly or by opening and merging a pull request.
-
If your SDK has a production repo linked, then after either you or we modify the
nextbranch, your release PR will be automatically updated to include the changes, allowing you to merge them intomain(or equivalent), releasing them to the package manager. -
The next time we add a Stainless-generated change to the integrated branch we will append it to the branch’s
HEAD, leaving your custom code intact.
Merge conflicts
Section titled “Merge conflicts”If Stainless tries to modify lines of code that you have also edited, we will attempt to perform a semantic merge and resolve the conflict automatically; however this is not always possible. If we need you to intervene to resolve a merge conflict we will open a “merge conflict PR” in your staging repo:
- To resolve, merge the PR’s head into its base. There are detailed instructions in the merge conflict PR’s body to help you do this.
- As long as the merge conflict PR remains open, Stainless will stop updating the integrated branch (and therefore your release PR as well).
Project branches
Section titled “Project branches”Custom code is also compatible with branches that are generated through Stainless (including preview/* branches generated through our CI workflows):
- When you change your OpenAPI spec or Stainless config on a branch, the resulting branch in each SDK will include all of the custom code that you added to its parent branch.
- You can also add new custom code to the branch in any SDK by pushing code to that branch. Add it to the SDK git branch that has the same name as the Stainless branch (not the one that is prefixed with
integrated/orcodegen/). - Your custom code changes will persist across regenerations of the branch, though the individual commits you added may be squashed into Stainless generated commits, particularly if you rebase the branch or if it is a
preview/*branch created through CI. - If your custom code on your SDK’s branch conflicts with Stainless’s generated code, we will create a branch-specific merge conflict PR.
- When you merge in your config changes:
- The custom code on each SDK’s branch is automatically copied into the parent branch.
- If you resolved any merge conflicts on an SDK branch, we replay those resolutions on the parent branch so that you don’t have to resolve them again.
- Before you use custom code, we recommend checking whether it’s possible to achieve the same outcome by modifying the Stainless config. This is preferable as it eliminates the risk of merge conflicts.
- Always use conventional commit messages when adding custom changes - this allows us to generate a richer changelog.
- We recommend creating net new files to add examples and utility functions (e.g. in
examples/andsrc/lib/directories or the equivalent for the given language), and then re-importing and re-exporting from generated files. - You should never modify the following branches:
generated,codegen/**,integrated/**- these are “working branches” that are purely meant for our backend to edit. - You should never force push to an integrated branch: always use fast-forward git operations. If you accidentally force push, reach out to support@stainless.com so we can fix your repo.
- When you link a production repo to an SDK, the custom code from your staging repo will be automatically copied into it. After that, feel free to add custom code to either the staging repo or the production repo: both approaches will have the same outcome.
- The preview panel in the Stainless Studio does not reflect custom code.
- Run our formatter (in the scripts/ directory) after you add custom code. Consistent formatting reduces the likelihood of merge conflicts.
- Avoid moving existing code within or between files. We’re less likely to be able to automatically resolve code conflicts in moved code.
- If you are confused by a merge conflict PR or any other aspect of Stainless’ management of your repository, don’t hesitate to reach out to support@stainless.com for clarification or assistance.
Language-specific considerations
Section titled “Language-specific considerations”When writing custom code in Go SDKs, you may need to import packages from your SDK. During the staging phase, your SDK repository will be hosted under the stainless-sdks organization (e.g., github.com/stainless-sdks/your-sdk-go), but upon release, it will be published under your production organization (e.g., github.com/your-org/your-sdk-go).
To write and test custom code locally during staging without committing staging import paths, use Go’s replace directive in your go.mod file:
module github.com/your-org/your-sdk-go
go 1.21
require (    // ... other dependencies)
// For local development and testing during stagingreplace github.com/your-org/your-sdk-go => ./
With this replace directive in place:
-
Write your custom code using the production import paths:
package customimport ("github.com/your-org/your-sdk-go/internal/requestconfig""github.com/your-org/your-sdk-go/option""github.com/your-org/your-sdk-go/packages/param")// Your custom code here -
Test locally in the staging repo: The
replacedirective tells Go to resolve those imports using the local files in your staging repository, even though the import paths reference the production URL. -
Commit your changes: When you commit and push your custom code to the staging repo, include both your custom code files and the
go.modfile with thereplacedirective. -
Automatic updates on release: When Stainless releases your SDK to production, the repository URL will be updated automatically. The
replacedirective ensures your custom code works in both staging and production without needing to change import paths manually.
Important notes:
- Always use the final production import path in your custom code, never the staging URL (
stainless-sdks). - The
replacedirective only affects local development; users of your published SDK will not be affected by it. - Make sure to run
go mod tidyafter adding custom code to keep your dependencies clean.
Anti-patterns
Section titled “Anti-patterns”Whenever possible, customize your SDKs using the Stainless config rather than with custom code, as this helps you reduce the risk of introducing merge conflicts. Some situations where it makes more sense to customize through your Stainless config include:
- ❌ customizing your README title, package names, or repo names - configure
targetsinstead - ❌ editing the example snippets in your README – configure
readmeinstead - ❌ changing the casing of acronyms and initialisms – configure
custom_casingsinstead
We also strongly recommend against running your own formatter on top of our generated code, as this will likely result in frequent merge conflicts.
Which branch should I add custom code to?
If your SDK does not yet have a production repo linked, add your custom code to the main branch (a.k.a. staging#main). Otherwise, you can add custom code to production#next, staging#next or staging#main. Regardless it’ll end up in your release PR.
How do I see my SDK’s custom code?
We maintain a gist with your custom code diffs, linked in the project overview page in your dashboard:

You can alternatively view your custom code diffs by navigating to https://github.com/stainless-sdks/{your-repo}/compare/{generated-branch}..{integrated-branch} (for example, generated..next) or by running git diff {generated-branch}..{integrated-branch} locally. This approach is particularly useful for branch builds, but it comes with the following caveats:
- It will not work properly if there’s an open merge conflict (unlike the “Custom code patches” link).
- The view will include changes to your
CHANGELOG.mdfile made through our release process (which we do not technically consider to be “custom code”).
Lastly, if you are working with a branch, you can see branch-specific custom code by comparing integrated/{BRANCH_NAME} with BRANCH_NAME, i.e. https://github.com/stainless-sdks/{your-repo}/compare/integrated/{BRANCH_NAME}..{BRANCH_NAME}.
How do I remove custom code from my SDK?
- To remove all custom code from your SDK, click the trashcan icon in the project overview page in your dashboard:

- To delete only certain patches, clone your SDK repo, check out the integrated branch, and run
git restore --staged --worktree --patch --source=origin/generated {filename}- this will allow you to interactively audit your patches one-by-one within a given file. Once you’re done, commit and push your changes.
Is there a “stainless-ignore” mechanism so that I can prevent Stainless from modifying certain files?
- Stainless will never touch any file that we do not generate.
- There is no way to prevent Stainless from modifying certain files — this ensures Stainless can always apply fixes, spec changes, and improvements uniformly across your SDK without risk of stale or mismatched code.
Why is there a next branch and main branch?
The main branch reflects code that has been released to the package manager whereas the next branch queues up unreleased changes for you to review via the release PR.
What branches should I avoid committing to?
Do not commit to the generated branch or any branch with the codegen/ or integrated/ prefixes - these are “working branches” that are purely meant for our backend to edit.
Custom code in depth
Section titled “Custom code in depth”- Stainless runs a build for each of your SDKs whenever your OpenAPI spec or Stainless config changes or our codegen algorithm changes. The build takes your spec and config as inputs, runs the codegen algorithm, and outputs SDK code.
- If the build results in different generated code than the last build, we commit the result to the
generatedbranch. - Immediately afterwards, if there is no pre-existing merge conflict, we use git to attempt to cherry-pick the commit onto the integrated branch.
- If there’s a merge conflict, we try to resolve it automatically using an AST-based merging algorithm.
- If this fails, we create two “merge conflict branches”:
generated--merge-conflict: a copy of thegeneratedbranch, with the generated change at theHEAD.integrated--merge-conflict: a copy of thegeneratedbranch before the most recent generated change, with all of the SDK’s custom code cherry-picked on top as a single commit.
- We then open a PR comparing
generated--merge-conflictandintegrated--merge-conflict— merging the former into the latter is how you communicate to us how the new generated change should merge into your custom code. - While this conflict PR is open:
- We stop cherry-picking new generated commits onto the integrated branch as subsequent builds occur. We have to do this because generated commits need to be applied in order.
- If you add new custom code to the integrated branch, we re-create
integrated--merge-conflictaccordingly.
- After you merge the PR, we cherry-pick onto the integrated branch a commit computed as the difference between the
integrated--merge-conflictbranch and the integrated branch (you can think of this as the generated change that caused the conflict but with your custom code merged in). - If you’ve linked a production repo, we allow you to add custom code to any of
production#main,production#next,staging#mainorstaging#next. To make this possible, we keep these branches rebased on top of each other such thatproduction#nextis always ahead ofstaging#next, which is always ahead ofstaging#main, which is always ahead ofproduction#main(thus allowing us to construct a clean release PR that merges commits fromproduction#nextintoproduction#main). If any of those invariants becomes impossible because any of these branches conflict with each other, we will open a merge conflict PR for you to resolve.
On branches
Section titled “On branches”Custom code works similarly on branches, except there are two integrated SDK branches and three total SDK branches per config branch:
codegen/{BRANCH_NAME}: analogous to thegeneratedbranch — only includes machine-generated code.integrated/{BRANCH_NAME}: includes machine-generated code as well as any custom code inherited from the parent branch (generallymain).BRANCH_NAME: a copy ofintegrated/{BRANCH_NAME}but with branch-specific custom code.
Whenever a build creates a new commit on codegen/{BRANCH_NAME} we cherry-pick it onto both integrated/{BRANCH_NAME} and BRANCH_NAME sequentially, opening a merge conflict PR if there’s an unresolvable conflict in either case (i.e. because the build’s generated change has conflicted with the parent’s custom code or the branch-specific custom code respectively).
Once you merge your config branch into its parent, we create a build on the parent and:
- If the build results in any merge conflicts that you already resolved on the branch, we use a custom
git rerere-based library to reapply your resolutions from before. - We save the custom code from your branch as the diff between
integrated/{BRANCH_NAME}andBRANCH_NAMEand patch that onto the same commit that we cherry-pick from the generated branch to the integrated branch.